A Beginner’s Guide to Canning & Preserving Food at Home
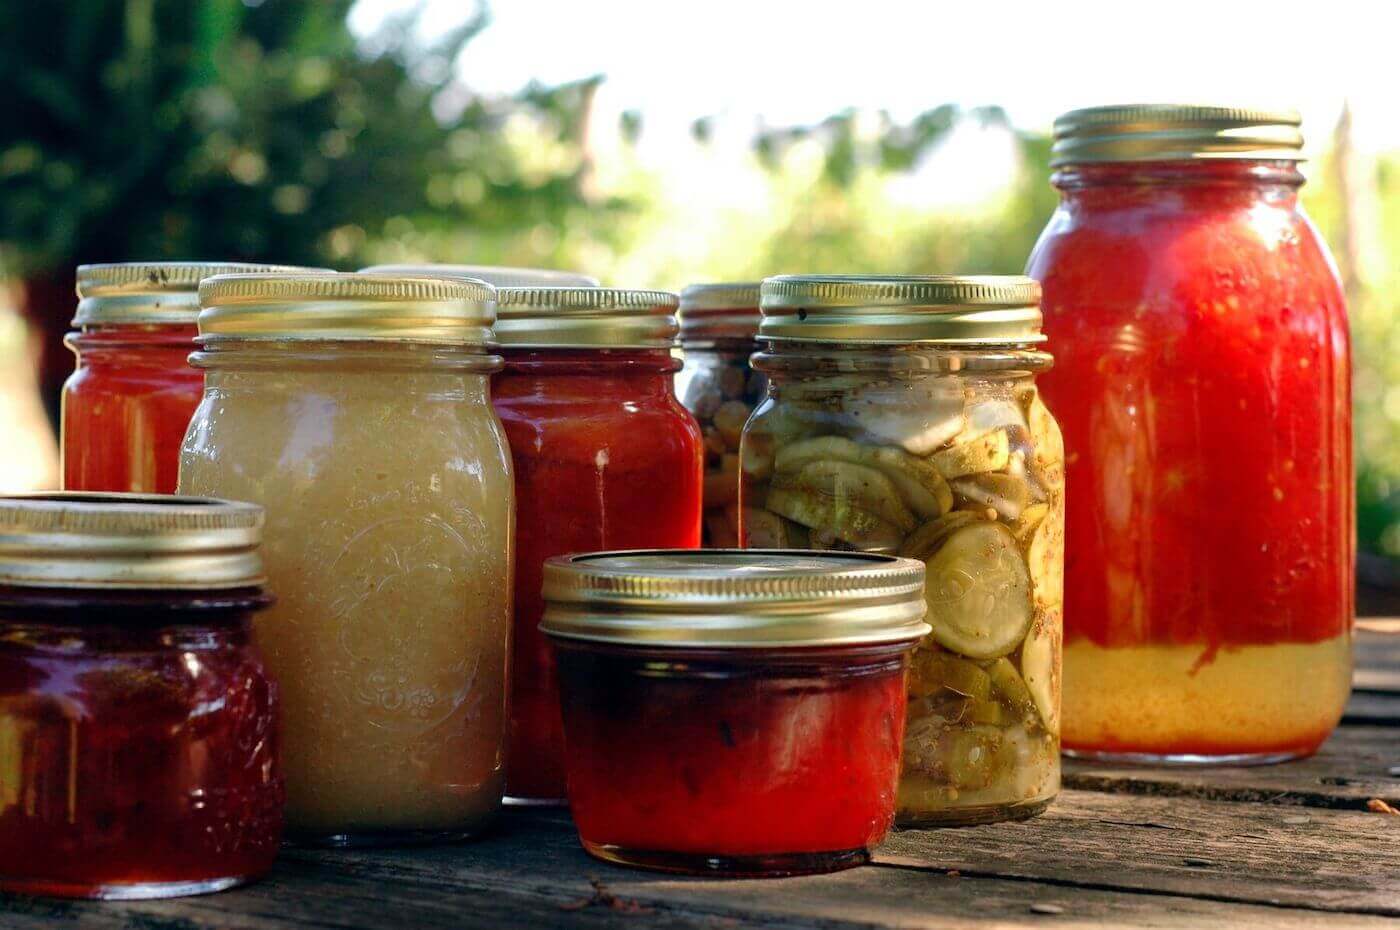
In the cool and dusty recesses of many of our grandparents’ or great-grandparents’ basements, glass jars of every kind of food lined the shelves. Jams, jellies, sauces, relishes, vegetables—anything that came from the garden and could be made to last found its way onto those shelves.
Canning was once part of the usual list of chores around the house. It faded for a few decades but has made its way back, bolstered by a renewed interest in homesteading, penny-pinching, and a hefty boost from the likes of TikTok as well as a trend called grandmacore (an aesthetic and lifestyle trend devoted to all things cozy and vintage; McDonald’s has even hopped on).
Wondering how to get started canning and preserving food at home? This guide will walk you through the basics of water bath canning.
Table of Contents
What Is Canning?
Born from a Dictator’s Call to Action: History of Canning
Same Today As It Ever Was: The Benefits of Canning
What You’ll Need: Canning Equipment
Yes, You Can Can: The Basic Steps to Water Bath Canning
How to Store Canned Food
How to Know If Canned Food Has Gone Bad
Oops: Common Mistakes When Canning
Explore More Recipes
What Is Canning?
Canning is a method of preserving food by putting it in jars and then heating them to a temperature that destroys microorganisms and inactivates enzymes that could cause the food to spoil or create a health hazard, botulism being the biggest concern. During canning, a vacuum seal is formed that prevents air from getting into the jar, preventing those microorganisms from contaminating the food.
There are three types of canning: a boiling water bath, atmospheric steam canning, and pressure canning. The food you’re canning dictates which method to use.
What Can be Canned—Low pH vs High pH Foods
All kinds of food can be canned: fruits and vegetables, relishes, jams and jellies, salsa, nuts, poultry, meats, and seafood. But different foods call for different methods of preservation.
High-acid foods, defined as those with a pH of 4.6 and below, can be canned in a water bath or atmospheric steam canning. These include fruits, tomatoes, pickles, jams, and jellies. Some vegetables can also be canned this way, though they’ll need an acid like vinegar or lemon juice added to the mix to adjust the pH.
According to the USDA, low-acid foods are not acidic enough to prevent the growth of harmful bacteria; these include many vegetables (like peas, corn, and asparagus), meats, and eggs. Low-acid foods need to be processed at 240 degrees Fahrenheit and above, which can only be accomplished with a pressure canner (not to be confused with a pressure cooker).
Note: Whatever method you use, check on adjustments if you’re at high altitude, where boiling points differ from those at sea level.
Types of Preservation
Canning isn’t the only way to preserve food. The National Center for Home Food Preservation includes these:
- Canning
- Jams and jellies (most are preserved by sugar)
- Pickling
- Fermenting
- Freezing
- Drying
- Curing and smoking
- Storing
Born from a Dictator’s Call to Action: History of Canning
The canning process was developed in the early 1800s in response to a call from Napoleon to invent a method of preserving food that could sustain the French army and navy. Nicolas Appert of France came up with the method, for which he won an award of 12,000 francs in 1809.
Interestingly, it took another 50 years for science—by way of Louis Pasteur—to explain why Appert’s method worked and the food didn’t spoil.
Canning was popular in the United States during World War I and the Great Depression, then peaked in popularity during World War II.
Same Today As It Ever Was: The Benefits of Canning
People are canning today for a lot of the same reasons they canned 100 years ago.
Canning is a great way to lock in the flavor of those sweet strawberries and those summer tomatoes. It’s satisfying to open a jar, hear the “pop” as the lid unseals, and get a taste of homemade jam in the offseason.
It’s also a way to save money and create less waste by using more of what’s in your garden or preserving what you didn’t use up after a trip to the grocery store. And there are health benefits, too. The USDA says that vegetables start to lose their nutrients shortly after harvesting, and that nearly half of the vitamins may be lost within a few days unless the fresh produce is cooled or preserved. (It also says that canning food “may save you half the cost of buying commercially canned food.”)
What You’ll Need: Canning Equipment
You’ll need a little counter space and the right equipment to get started. You can purchase a water bath canning kit, but if you’re assembling the pieces separately, they include:
- Canning kettle or extra large pot (20 quarts)
- Canning rack
- Tongs with rubber grips
- Metal funnel
- Metal ladles
- Canning jars, lids, and rings
- Paper or cloth towels
- Plastic or rubber spatula
- Can purchase a water bath canning kit

Canning jars are typically made of glass and include a lid plus a screw top.
Yes, You Can Can: The Basic Steps to Water Bath Canning
Grab your mason jars and your ingredients. It’s time to dive in!
1. Gather, Wash, and Mix Your Ingredients
Like anything you’ll make, canning includes mise en place, or making sure you’ve got all your tools and ingredients set out before you start prepping and cooking. So gather your fruits and veggies, sugar, pectin, lemon juice, vinegar, and anything else you need.
If you need to cook something, now’s the time. If you simply need to chop and prep, do that.
2. Soak the Lids
Opinions differ, but it can be helpful to soak the lids in hot water for at least 10 minutes to soften the rubber edge, which can help them form a seal. You also want to make sure your jars are washed and dried.
3. Fill Jars
Check your recipe for specific instructions, but in this step, you’ll fill your jars and leave some room at the top, called headspace. Many recipes call for about one inch of space.
Run a slim spatula made of rubber or plastic around the edges to remove air bubbles. Then wipe off the rims with a clean, damp cloth or paper towel to get rid of any residue. Screw on the lids.
4. Process Jars in Boiling Water
Again, check your recipe for specific instructions to help prevent the jars from cracking or getting damaged. If you’re packing raw food into jars (raw-packed jars), the water in the kettle/canner should be hot but not yet boiling. For hot-packed jars, which include foods that have been blanched or cooked before being ladled into the jars, the water in the kettle can be hot or at a low boil (the jars should also be hot before you pack them, to prevent breakage).
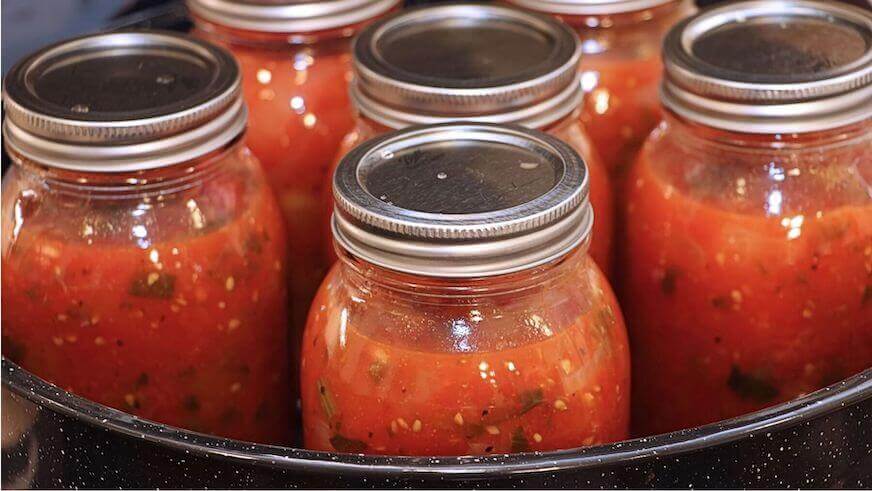
Lower the jars into the kettle on a rack, making sure there’s about an inch of water covering them; if you need to add water, pour it between the jars rather than on top of them. Cover the kettle and turn the heat to high and bring to a rolling boil. When it’s boiling, start your timer; many recipes call for 10 minutes, but yours could call for more.
5. Let Cool
When time’s up, turn off the heat, remove the kettle’s lid, and let everything cool for about five minutes before removing the jars from the kettle.
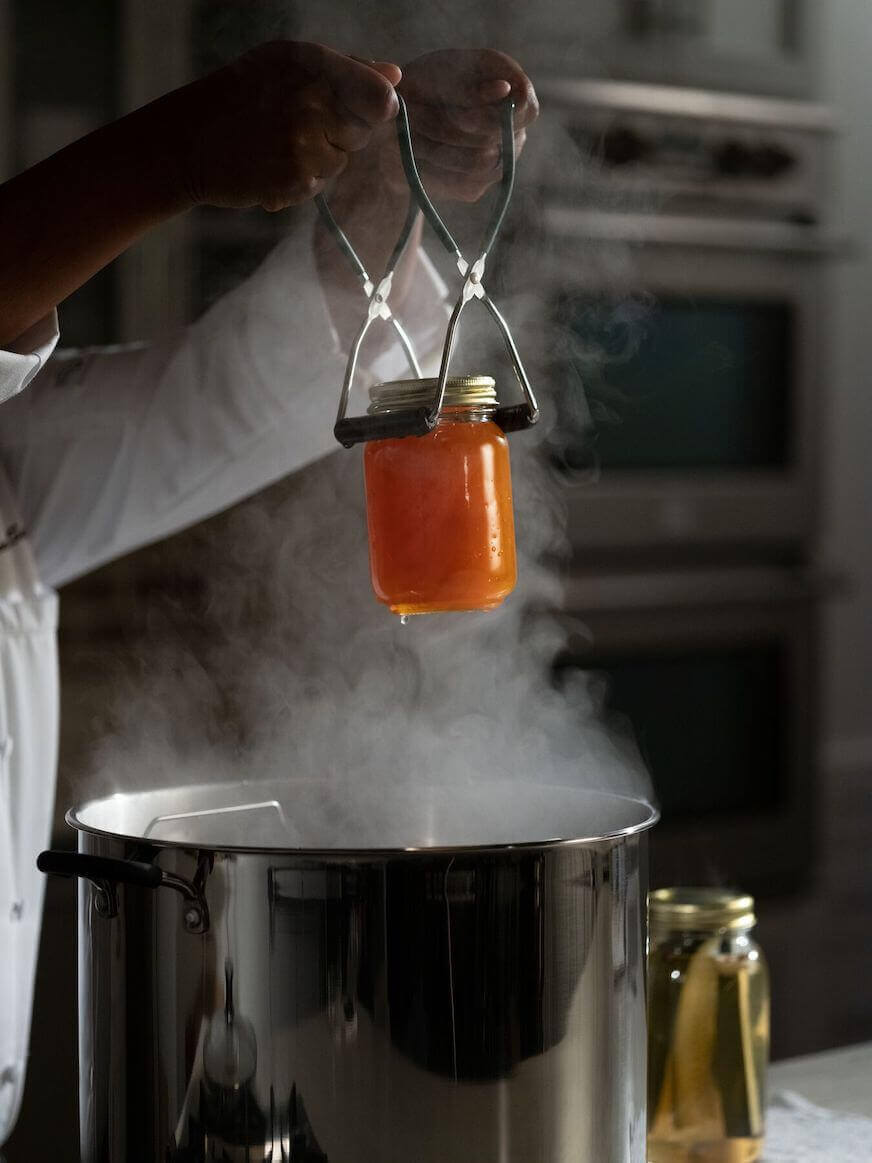
Remove the jars from water with tongs and let them sit for 12-24 hours. Be sure to place them on a towel rather than directly on the counter to prevent cracking, and leave at least an inch between them. Don’t fiddle with the lids or push on the seals yet.
After they’ve cooled, you’ll know the jars have sealed properly if the lids have become sunken in the center and don’t flex when pressed. You might have heard a tell-tale “pop” when they were cooling, which indicates they’ve sealed. You can also tap the lid with the bottom of a spoon; if it makes a high-pitched sound, the lid has sealed, whereas if it sounds dull, the lid has not.
If any of the jars failed to seal, you can try reprocessing, freeze the food instead, or use it within a couple of days.

Special tongs help prevent nicks and scratches on glass jars during the canning process.
How to Store Canned Food
Store your canned food in a cool, dry place away from sunlight, where it will last about a year.
Before storing your properly sealed jars, remove the ring bands and wash the jars and lids to remove any residue, which can grow mold. The National Center for Home Food Preservation recommends storing jars without ring bands to keep them dry; you can also spot broken vacuum seals easier.
Make sure to label your jars with the dates the food was canned and consider providing support between them if you’re stacking so the lids aren’t accidentally disturbed. Store between 50 and 70 degrees Fahrenheit if possible. Food may spoil in warm temps or if stored near heating systems or in an attic; if it winds up somewhere too cold and freezes, the food probably won’t spoil because of the freezing, but you should be aware of any damage to the jars that could cause contamination.
How to Know If Canned Food Has Gone Bad
Not sure whether your canned food has gone bad? Follow the cardinal rule: if in doubt, throw it out.
Don’t take any chances if you suspect or even just wonder whether canned food has spoiled. This isn’t a matter of flavor—it’s a health concern.
Warning Signs Your Canned Goods Have Spoiled:
Keep an eye out for these signs your canned goods may have gone bad. And when in doubt, throw it out!
- Bulging lid or leaking jar
- The presence of mold
- Odor is off
- Discoloration
- Spurting liquid
- If the jars or cans are still sealed, place them in a heavy garbage bag. Close and place the bag in a regular trash container or bury it in a nearby landfill.
- If the jars or cans are unsealed, open or leaking, they should be detoxified before disposal.”
Clemson also reminds people that “Improperly canned, low-acid foods can contain the toxin that causes botulism without showing signs of spoilage.” The article provides step-by-step instructions for detoxification that include boiling the jars and disposing of them in a landfill, and cleaning contaminated areas with a bleach solution.
Oops: Common Mistakes When Canning
Canning is a fairly straightforward process that home cooks have been doing successfully for years, but there are a number of common mistakes that even the most experienced canners can make. Beware of these canning blunders:
- Not getting a good seal
- Overfilling jars
- Using overripe or bad food
- Using damaged jars
- Adding too much thickener (slows the rate of heat penetration)
- Using untested recipe (needs science behind it)
- Forgetting to make altitude adjustments
- Storing food for too long
- Using an oven instead of a water bath
How High Are You? Adjusting For Altitude
You’ll need to adjust your boiling times or canning pressure if you’re canning at altitudes above 1,000 feet because water boils at lower temperatures in higher altitudes. Culinary Arts students at Escoffier’s Boulder campus are well aware of this phenomenon!
Lower temps are less effective at killing bacteria, so you generally need to increase the processing time and boil for longer. Ball Mason Jars provides a handy Altitude Chart on its website to help you calculate. For example, if you’re using the boiling water method at altitudes between 1,001 and 3,000 feet above sea level, you should add five minutes to your processing time. You might add as much as 20 minutes at the highest elevations.
Explore More Recipes
Canning is a great way to preserve your homemade sauces and jams, and to save fruits and vegetables at the height of their flavor so you can enjoy them during the offseason.
To discover more ways to hone your skills, check out our online cooking classes like Slow Cooker Revolution. Or, if you want to pursue a culinary education, consider a degree or diploma in culinary arts. Escoffier offers both on-campus and online options, making it easier for you to find a way to fit school into your life.
Want to know more about making the most of what you’ve got at home? Try these articles next:
- How to Cook With a Cast Iron Skillet
- 5 Ways to Use Chicken Stock
- Cooking Oil Smoke Points and Why They Matter
This article was originally published on Dec. 23, 2013 and has since been updated.


