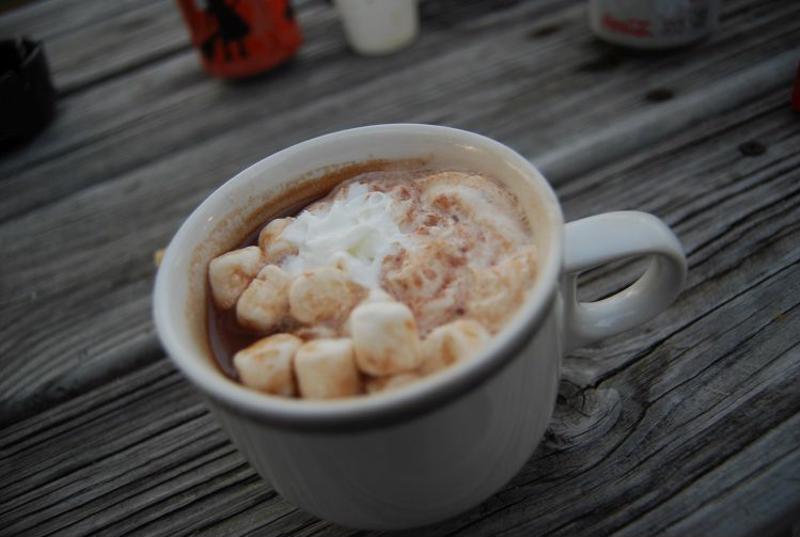
Top your cocoa with homemade marshmallows
On a chilly day, there’s nothing more comforting than a steaming mug of hot cocoa. And your beverage isn’t complete until you’ve dipped a marshmallow into it. If you’re taking online courses in the baking and pastry arts, you may be ready to try your hand at making your own batch of these delightful confections.
Preparing homemade marshmallows usually involves letting them rest for several hours, so you’ll have to plan ahead. However, dessert fans of all ages will be able to tell the difference, whether they’re sipping a chocolate drink or sinking their teeth into a s’more. Once you know the ingredients and techniques that go into these treats, you can keep a supply on hand for the next time you need an evening pick-me-up.
Take a classic approach
“Whip together a combination of gelatin, sugar and water.”
Marshmallow recipes commonly call for whipping together a combination of gelatin, sugar and water. However, there are plenty of variations out there, so you may want to explore a few different possibilities before you get started. For a version that’s both easy and a crowd-pleaser, try the directions from the Food Network’s Ina Garten.
Pour three packages of unflavored gelatin and half a cup of cold water into the bowl for an electric mixer. While the gelatin dissolves, add granulated sugar, corn syrup, salt, and another half cup of water to a saucepan. Cook at medium, increasing the heat to high once the sugar dissolves. Monitor the syrup’s temperature with a candy thermometer, and remove from heat once it hits 240 degrees Fahrenheit.
Set the mixer to low speed as you gradually add the syrup to the bowl with the gelatin. Once you’ve poured in all the syrup, switch to high speed for 15 minutes, or until the mixture is very thick. Then, mix in vanilla extract.
Dust a baking dish with powdered sugar and pour in the marshmallow mixture. Smooth off the top before adding more sugar. Let the marshmallows sit uncovered overnight.
Once the marshmallows dry out, transfer onto a cutting board. Separate into squares, dusting on additional powdered sugar before serving. If you’re not ready to use the confections just yet, you can store them in an airtight container for up to a week.
Make marshmallows that fit in your cup
If you prefer your hot cocoa accompaniment on the smaller side, we have your back. After you whip together the gelatin, syrup and vanilla extract, he suggested an alternate series of steps to make extra-small marshmallows that are still full of sugary flavor.
Line four half sheet pans with parchment paper. Coat with a nonstick cooking spray, plus a mixture of cornstarch and powdered sugar.
Move the marshmallow mixture into a piping bag with a half-inch round tip. Pipe the mixture onto the pans in long strips, allowing an inch of space between them. Lightly cover with more of the cornstarch and powdered sugar mixture.
Allow at least four hours for the marshmallows to set. Then, use a pair of scissors dusted with the sugar mixture to separate into half-inch long pieces. Add more of the sugar mixture before serving or storing.
 Miniature marshmallows can make your favorite nighttime indulgence even better.
Skip the corn syrup
Not everyone likes to use corn syrup to thicken and sweeten their creations. Genius Kitchen provided a recipe that leaves out this ingredient and is also ready in under an hour. The method calls for warming a mixture of just granulated sugar and water until the sugar dissolves.
Add gelatin that has been soaked in cold water to the saucepan and heat to a boil. Move to a mixing bowl and allow to cool. Add salt and vanilla extra, beating for up to 15 minutes.
Transfer the mixture to a pan dusted with powdered sugar. Let the marshmallows cool before cutting into pieces and rolling them in powdered sugar.


